How to Install Drywall: Essential Steps for Beginners in 2025
Learning **how to install drywall** is an invaluable skill for any DIY enthusiast or aspiring contractor. Drywall installation provides a cleaner and more finished look to any interior space, whether you’re remodeling a living room or creating a basement. In 2025, understanding the latest techniques in **drywall installation** can help you achieve professional results without hiring experts. This comprehensive guide reviews the key steps, tools, and tips for an efficient drywall installation process.
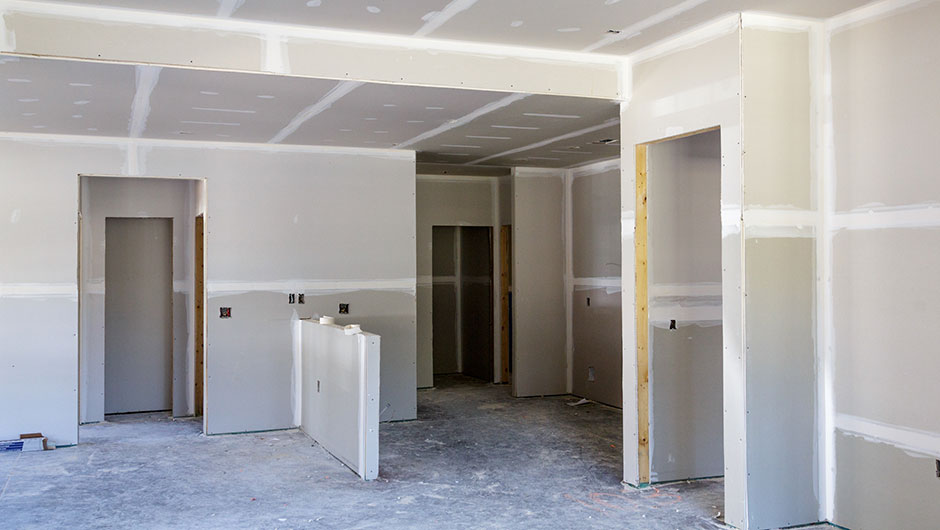
Understanding Drywall Installation Steps
Becoming proficient in **drywall installation steps** is critical for a successful project. A practical approach begins with planning your layout, measuring your walls accurately, and selecting the right type of drywall. Understanding the various thicknesses and moisture-resistant options available ensures you choose the best product for your project. Additionally, familiarizing yourself with the best **drywall installation techniques for beginners** will significantly enhance your efficiency and results.
Measuring and Cutting Drywall Accurately
One of the essential skills in **drywall installation** is measuring and cutting drywall accurately. Use a tape measure to get precise dimensions of the area to be covered. Measure height, width, and any obstructions like windows or doors that will affect the drywall layout. Once you have your measurements, use a utility knife or a drywall saw to cut your drywall sheets accordingly. For complex cuts, such as electrical outlets or light switches, you might want to sketch out the cuts on the panel before making them. Always remember to double-check your measurements to avoid waste or errors, which can significantly affect your drywall cost estimates.
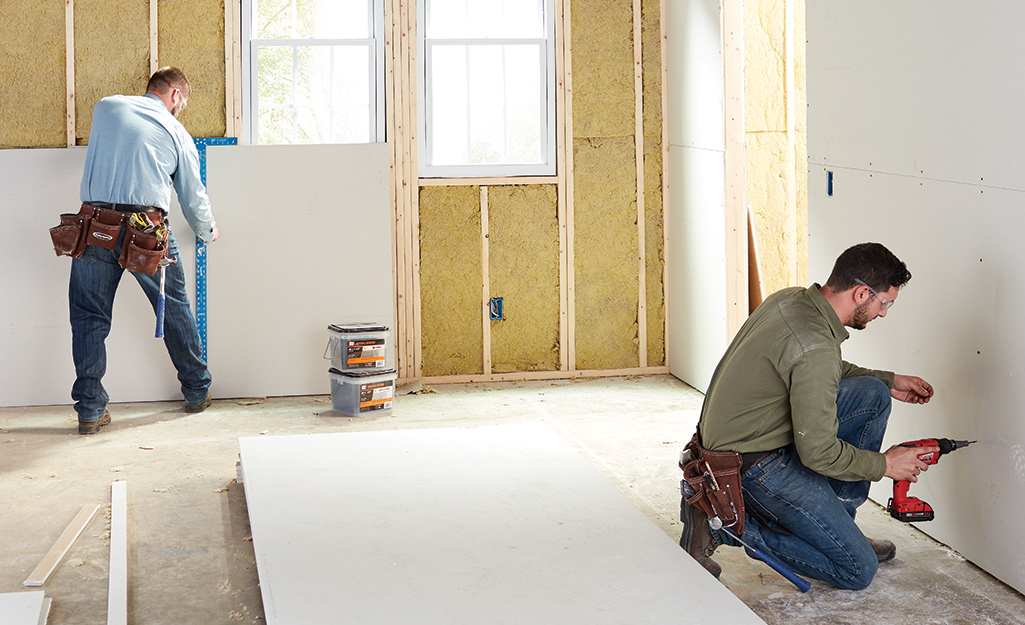
Drywall Hanging Techniques
**Drywall hanging techniques** significantly affect both the look and longevity of your work. Start from the top and work your way down while securing the panels with drywall screws and fasteners. A common method is to hang sheets horizontally as this helps reduce seams and enhance structural integrity. Ensure that you securely attach the panels every 12 to 16 inches along the edges and every 18 inches through the field. Maintaining proper spacing between screws is crucial—this will help avoid future drywall cracks. For ceilings, consider using a drywall lift or relying on a friend to help. Installing drywall in high places may be a challenge, and it’s often safer to have assistance.
Tools for Drywall Installation
The importance of having the right **tools for drywall installation** cannot be overstated. Proper tools streamline the installation process and contribute to better overall quality. Key tools include a utility knife, drywall saw, T-square, measuring tape, drywall screw gun, and a sanding block. Additionally, investing in specialized tools such as a drywall lift for ceiling installations or screw gun attachments can save you effort. Understanding each tool’s purpose will enhance your project efficiency and quality of finish.
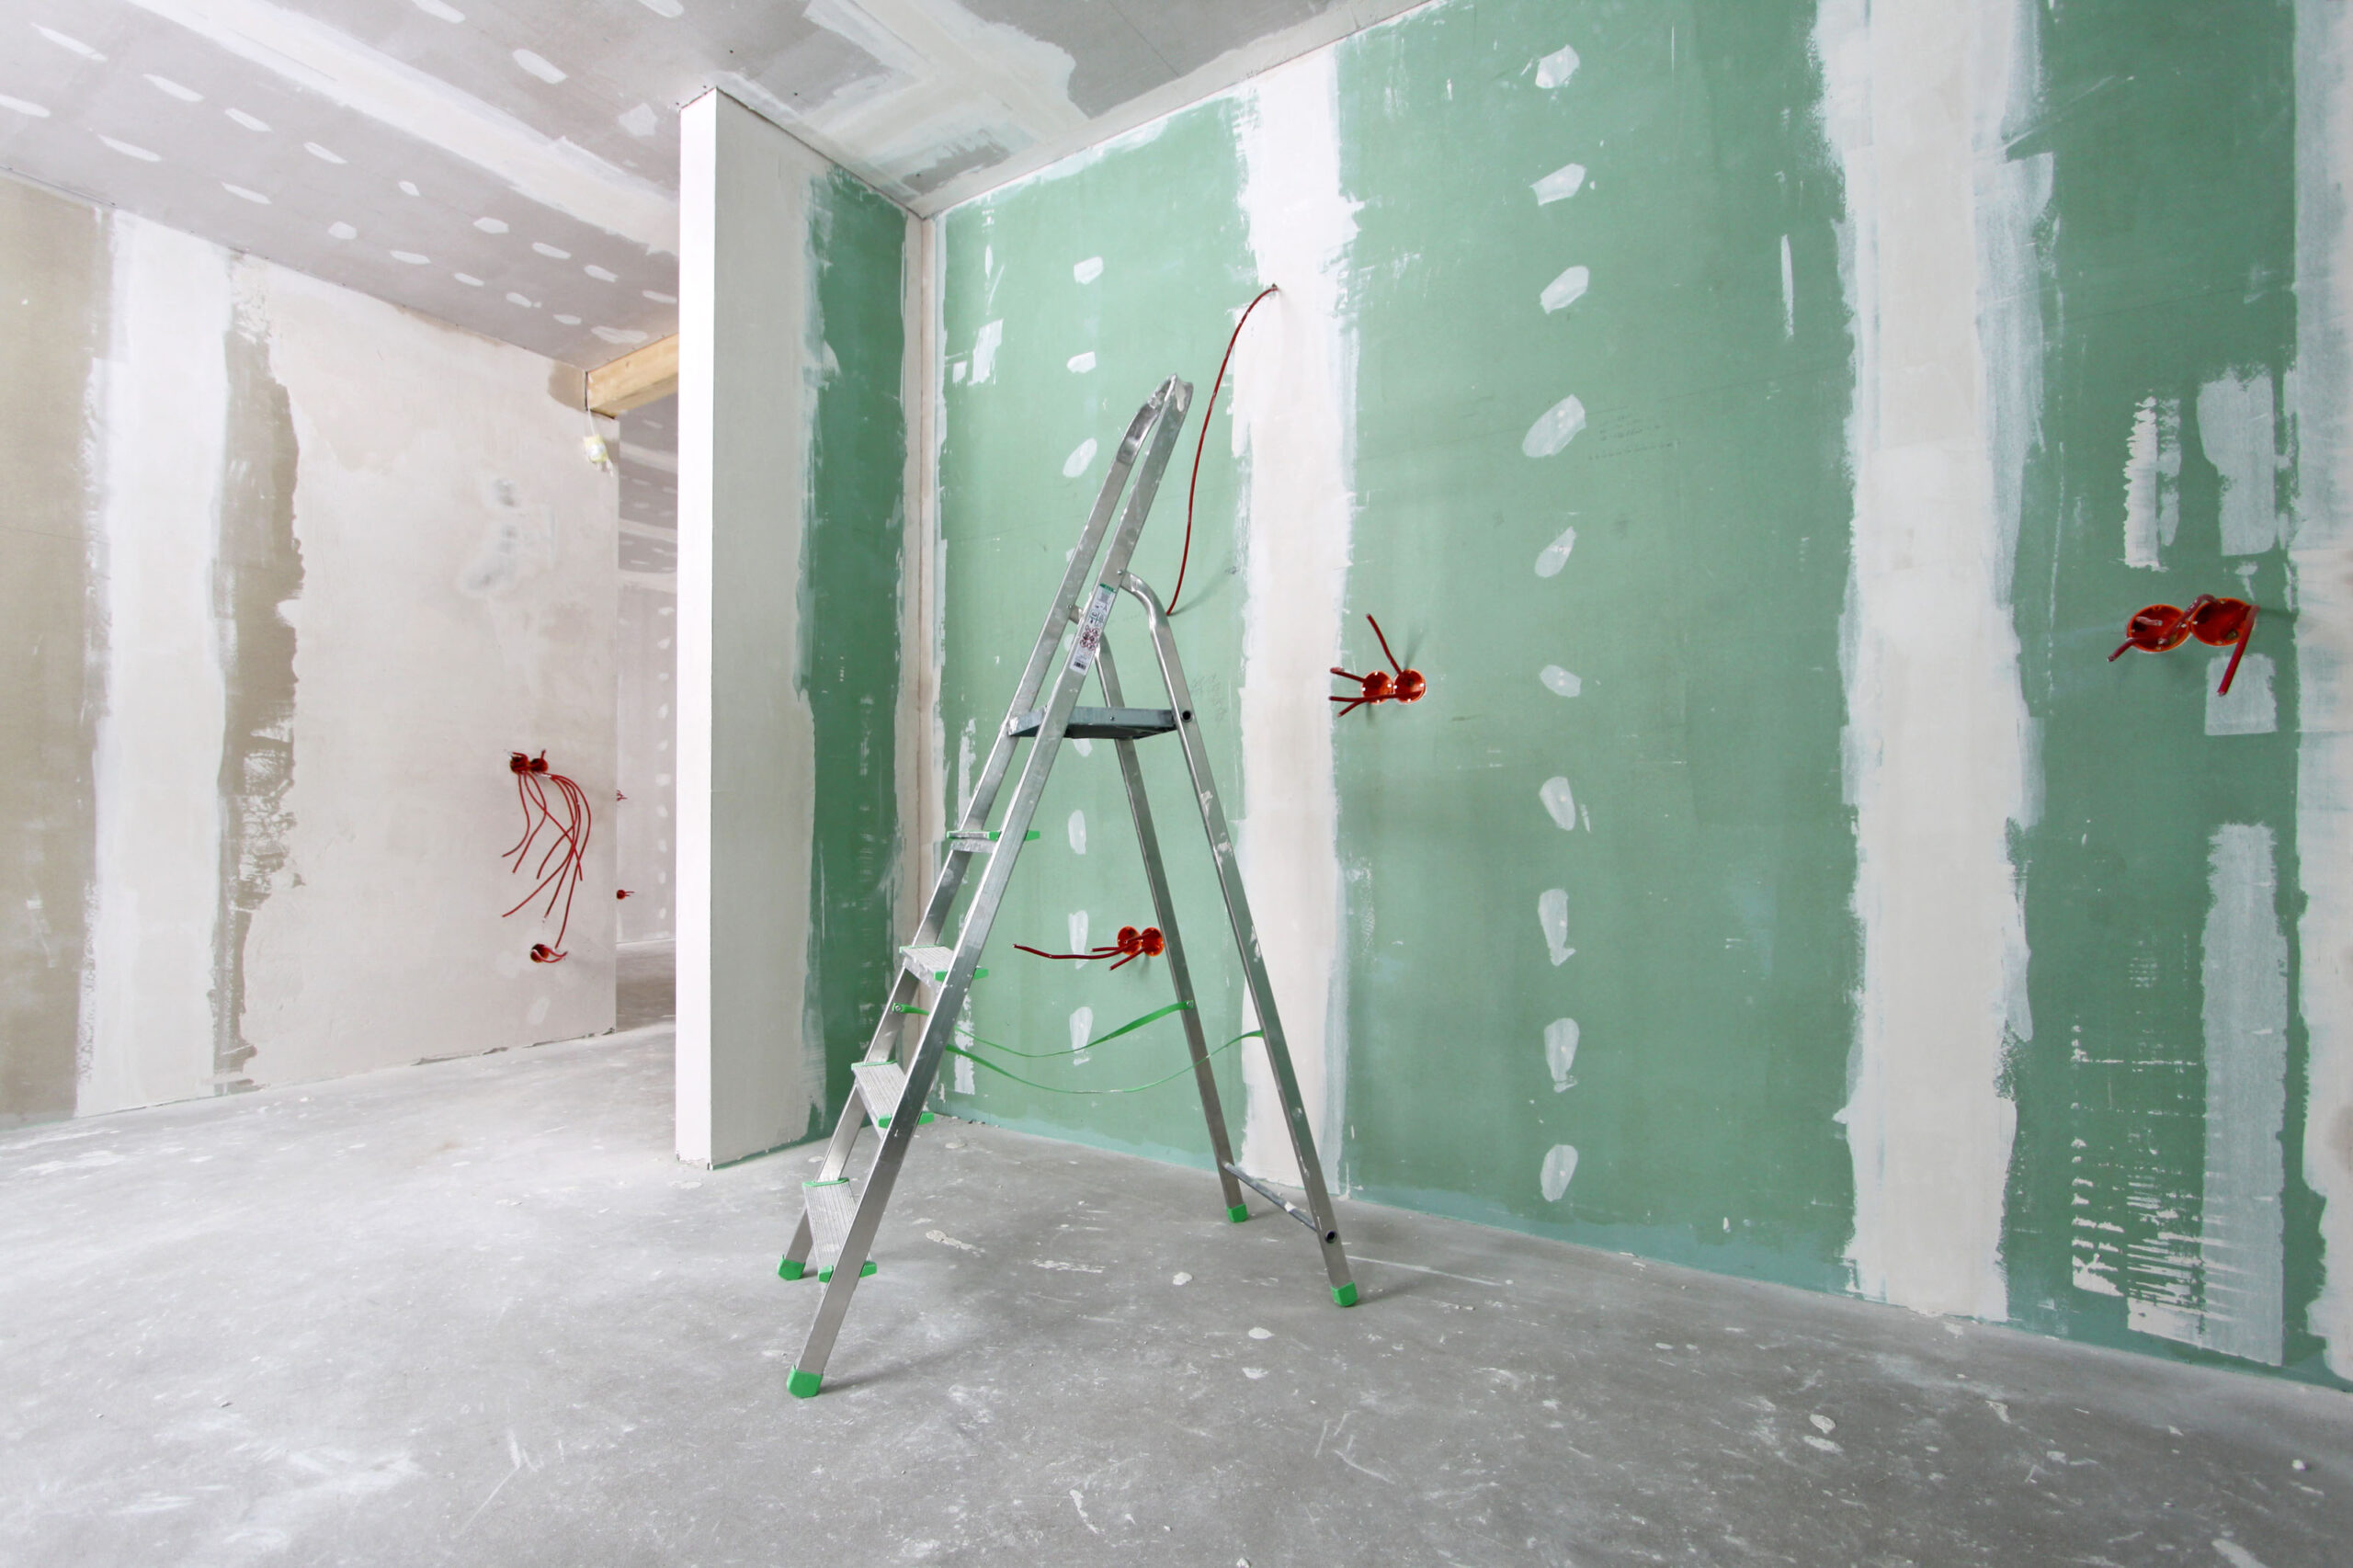
Drywall Finishing Tips
After hanging the drywall comes the essential step of finishing—here’s where the true beauty of your drywall project shines through. **Drywall finishing tips** emphasize the importance of applying drywall mud smoothly and evenly to seams and screw heads. Use a putty knife to apply the mud and a tapered edge to feather out the seams correctly. Be patient; generally, a three-coat system works best—base layer, tape layer, and a finishing layer. Allow adequate drying time between coats and aim to sand each layer to ensure smoothness. Applying primer over the mud, before painting, is also advisable for the best finish.
Sanding Drywall Seams
Improving the appearance of your drywall involves proper sanding techniques. **Sanding drywall seams** is crucial for achieving a flawless finish. Begin with a coarse sanding block, gradually moving to finer grits. Best practice dictates to sand lightly to avoid weakening the joint and creating divots in your work. After sanding, wipe down the surface with a damp cloth to remove dust particles that can affect paint adherence. Being meticulous in this stage could save time and money down the line by ensuring a professional-looking finish.
Common Drywall Installation Mistakes
<pUnderstanding common mistakes in **drywall installation** can help prevent issues. Frequencies like poorly measured cuts, inadequate support, and insufficient joint treatment can lead to significant problems. Make a note of common **drywall installation mistakes**—such as not sealing seams or using inappropriate screws—which can lead to cracks or sagging. Familiarize yourself with these traps to avoid them as you work.
Dealing with Drywall Issues
Throughout the lifespan of your drywall, you may encounter various issues ranging from water damage to cracks. Knowing how to approach **dealing with drywall issues** can save expensive repairs later. For example, moisture impacts may require replacing entire sections, while small cracks can often be filled and painted over. Understanding the typical signs of hanging drywall and recognizing when it’s time for repair will prolong the life and aesthetics of your installation.
Drywall Maintenance Tips
Practicing proactive **drywall maintenance tips** can help keep your walls looking great. Regularly inspect your drywall for signs of damage, moisture, or cracks, and address these promptly to prevent further issues. If your drywall is painted, ensure to touch up paints and maintain a clean environment to limit dirt build-up.
Conclusion
Mastering the art of **how to install drywall** opens up a world of opportunities for DIY projects. By practicing the essential steps outlined in this guide, using the right tools, and being aware of common mistakes, you are well on your way to achieving a professional installation. With patience and practice, you can create beautiful walls that enhance your home’s value and aesthetics.
FAQ
1. What is the best drywall for a basement?
When selecting drywall for a basement, consider moisture-resistant options, such as green board or cement board. These materials provide higher protection against humidity and water damage, ensuring durability in environments that are typically prone to insulation issues.
2. How thick should drywall be for walls?
Standard drywall thickness for interior walls is typically ½ inch. However, for areas requiring greater fire resistance, like garage walls or between units in multifamily homes, consider using 5/8 inch drywall.
3. Can I install drywall without a helper?
Yes, you can install drywall alone! Using drywall lifts and T-braces can reduce the awkwardness of managing large sheets solo. Alternatively, consider cutting your panels into smaller sections for easier handling.
4. How to repair small drywall holes?
Smaller holes, such as those made by nails or screws, can be easily repaired with joint compound. Simply apply, let it dry, sand smooth, and repaint to match your existing wall.
5. What safety precautions should I take while installing drywall?
Always wear protective gear, including gloves and safety goggles, when working with drywall. Use face masks to avoid inhaling dust, and ensure adequate ventilation in your workspace when sanding and applying finishes.